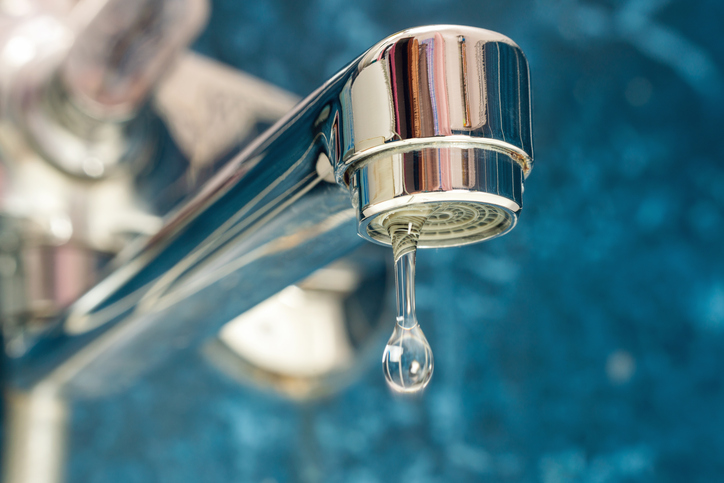
If you’ve ever laid in bed at 2 AM listening to the steady drip… drip… drip of a faucet, you know it’s one of the most frustrating sounds in the world. On the Gold Coast, where we value our lifestyle and our homes, a leaking tap isn’t just an annoyance—it’s a waste of our precious water and a silent drain on your bank account.
At Plumb Professor, we specialise in Tap Repair Gold Coast, and the most common culprit we see is the modern mixer tap. Whether it’s in your kitchen, bathroom, or shower, mixer taps are sleek and convenient, but they require a different approach to repair than the old-fashioned “washer” taps of the past.
In this guide, we’ll answer every question you have about how to repair a leaking mixer tap, so you can decide whether to tackle it yourself or call in the Professors.
Can a Mixer Tap Be Repaired?
This is the first question every homeowner asks: can a mixer tap be repaired, or do I need to buy a whole new unit?
The answer is almost always yes. Most people assume that because a mixer tap doesn’t have a simple rubber washer, it’s a “disposable” fixture. In reality, mixer taps can be repaired by replacing the internal ceramic cartridge. This cartridge is the “engine” of the tap, controlling the mix of hot and cold water.
While mixer tap repair is highly effective, if the body of the tap is cracked or the metal is heavily corroded, then a full replacement might be more cost-effective.
How to Repair a Leaking Mixer Tap: A Step-by-Step Guide
Whether you are looking at how to repair a kitchen mixer tap or one in your bathroom, the process is remarkably similar. The goal is to access and replace the cartridge.
1. Turn Off the Water
This is the most critical step. Look under your sink for the isolation valves and turn them clockwise. If you don’t have isolation valves, you’ll need to turn off the mains water at your Gold Coast property’s meter. Once off, open the tap to release any pressure.
2. Remove the Handle
Most people get stuck here because they can’t see any screws. On a water mixer tap, the screw is usually hidden behind the small “Hot/Cold” plastic indicator button.
Pop the button out with a flat-head screwdriver.
Use an Allen key (usually 2.5mm or 3mm) to loosen the grub screw inside.
Pull the handle upwards to remove it.
3. Unscrew the Decorative Cover and Locking Nut
Once the handle is off, you’ll see a chrome dome (the dress cover). Unscrew this by hand. Underneath, there is a large brass locking nut holding the cartridge in place. Use an adjustable spanner to unscrew this nut counter-clockwise.
4. How to Repair a Mixer Tap Cartridge
You don’t actually “repair” the cartridge itself; you replace it. Pull the old cartridge out.
Pro Tip: Take the old cartridge to a plumbing supply store. There are dozens of different sizes and “feet” configurations, and you need an exact match for a watertight seal.
5. Reassemble and Test
Clean any grit or lime buildup from inside the tap body. Drop the new cartridge in (ensuring the lugs on the bottom line up with the holes in the tap), tighten the brass nut, and put the handle back on. Turn the water back on slowly and check for leaks.
Special Considerations: Kitchen, Bathroom, and Shower
While the internal mechanics are similar, the location changes the “how-to” slightly:
How to repair kitchen mixer tap: These often have swivel spouts. If the leak is coming from the base of the spout rather than the nozzle, you may need to replace the O-rings at the base of the spout in addition to the cartridge.
How to repair shower mixer tap: These are often “concealed” behind a wall plate. You will need to remove the handle and then the large circular faceplate to access the internal body. Be careful not to drop the grub screw down the shower drain!
How to repair bathroom mixer tap: Because these are often smaller, the locking nuts can be quite tight. Using a bit of WD-40 or a specialised “tap tool” can help if the brass has seized over time.
Why is my Tap Still Dripping?
If you’ve followed a guide on how to repair a dripping mixer tap and it’s still leaking, there are a few likely reasons:
Wrong Cartridge: Even a 1mm difference in the cartridge base can cause a leak.
Damaged Seat: If grit has scratched the brass inside the tap body, a new cartridge won’t be able to sit flush.
High Water Pressure: The Gold Coast often has high water pressure which can “blow out” new seals. You may need a pressure-limiting valve installed at your meter.
Why Hire A Plumber to Repair my Mixer Tap?
We know that how to repair mixer tap issues can seem straightforward on paper, but in reality, seized nuts, proprietary parts, and hidden leaks can turn a 20-minute job into a weekend-long headache.
At Plumb Professor, we are the leading Gold Coast Plumbing Experts who’re equipped to deliver the solution your home needs.
With us, you can be sure of:
Licensed Experts: We don’t just “fix” it; we ensure your entire plumbing system is healthy.
Gold Coast Local: We understand the local water conditions and common tap brands used in Queensland homes.
No Mess, No Stress: We protect your vanities and tiles while we work.